Download the Installer
Click the Download Installer button at the top of this page (or use the direct link) and save the EXE to a folder you can access.

Detailed step-by-step instructions, screenshots, and troubleshooting.
This page provides a practical, step-by-step installation guide for AkServer on Windows. Follow each step carefully. Troubleshooting tips are at the bottom of this page.
Click the Download Installer button at the top of this page (or use the direct link) and save the EXE to a folder you can access.
Right-click → Run as administrator. If Windows SmartScreen appears, choose More info → Run anyway. Accept prompts and allow firewall access when asked.
Choose a folder to use as the sync/store location, enable auto-start if desired, and click Finish. Open AkServer and follow on-screen instructions to connect devices.
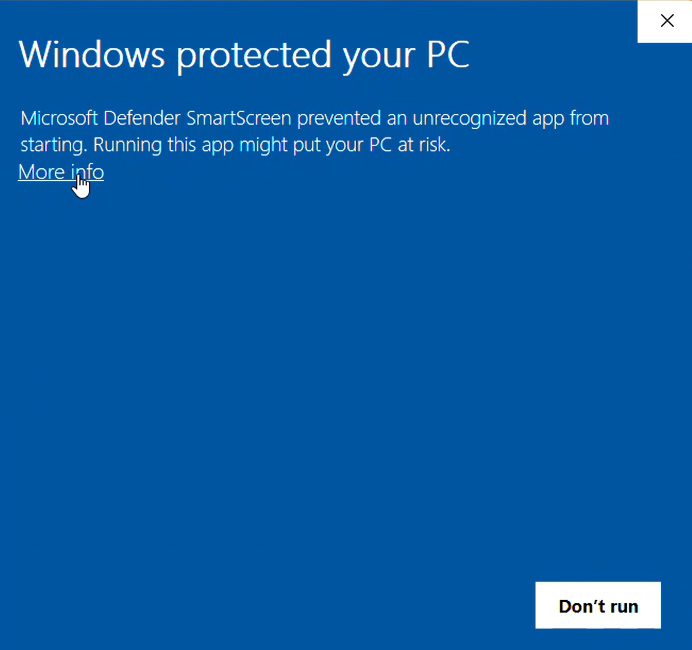
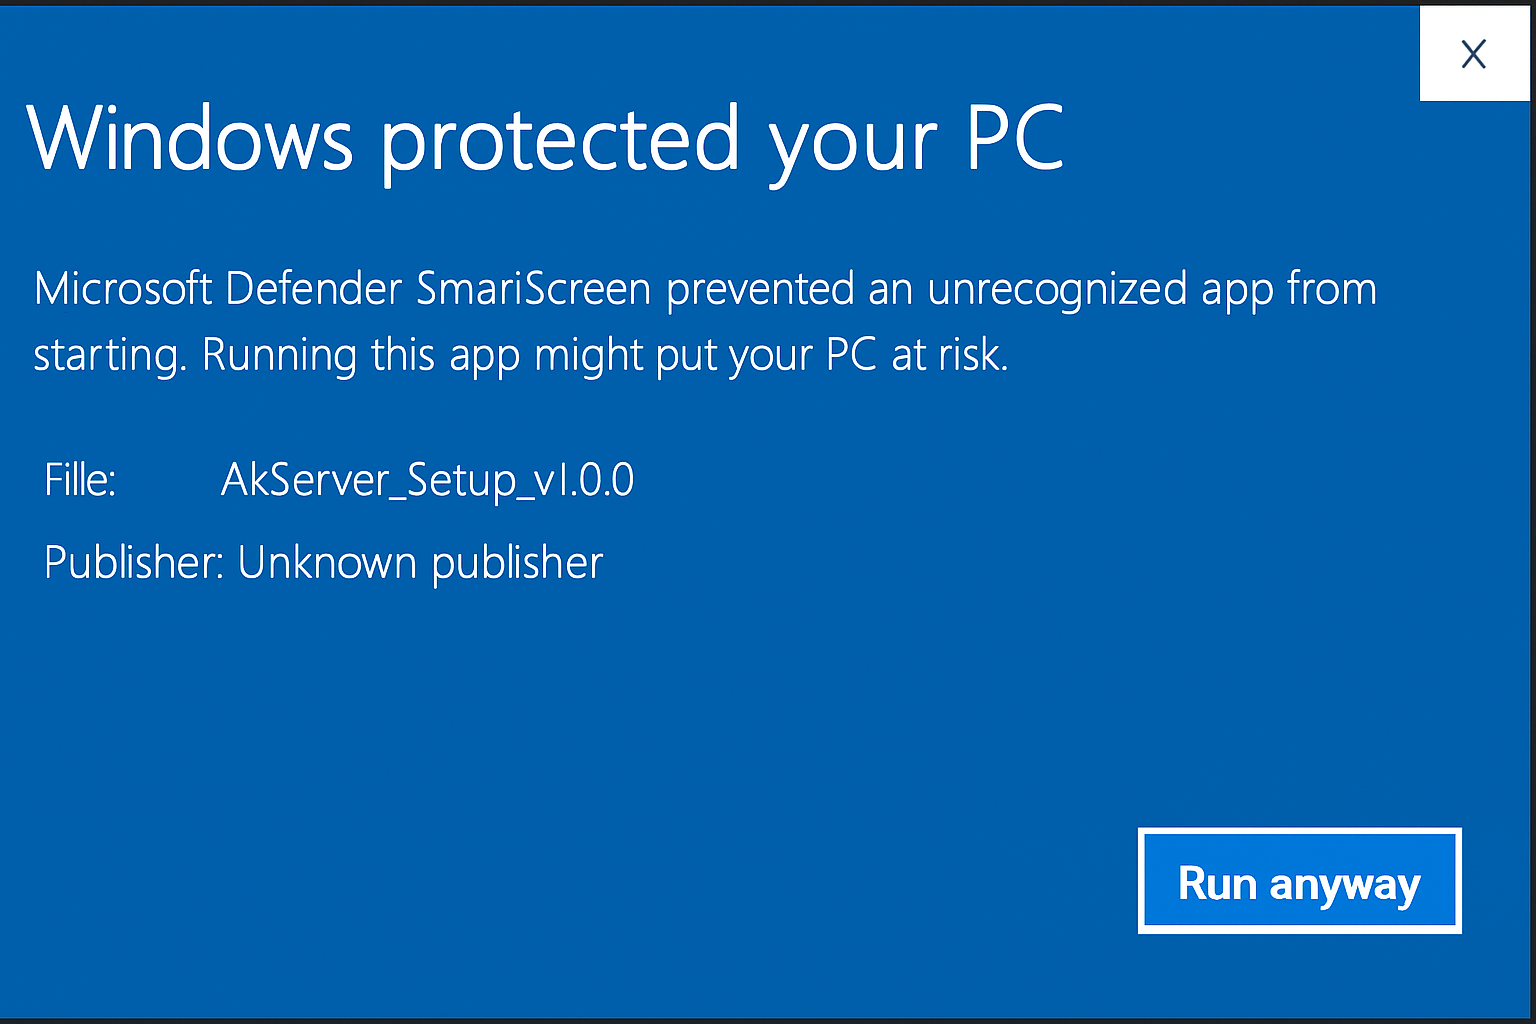
Click "More Info" → "Run Anyway" to start setup.
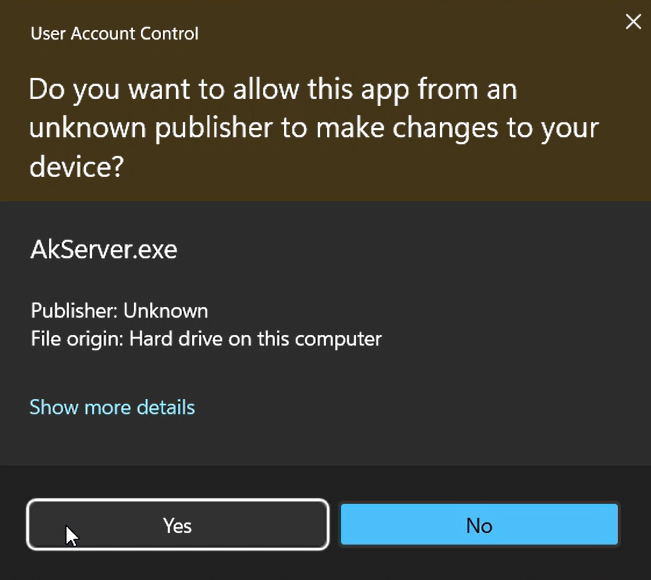
Windows may ask for permission. Click “Yes”.
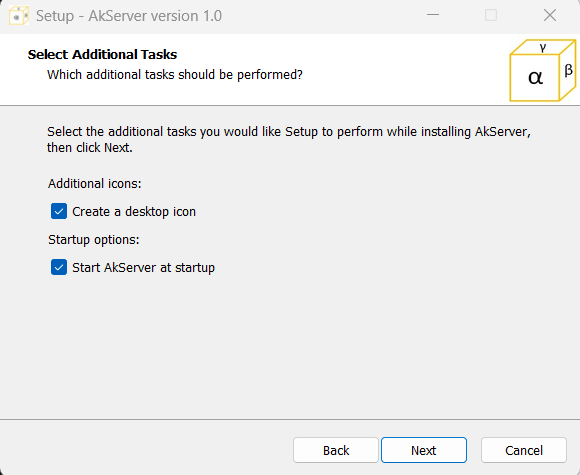
Let AkServer run on boot — ideal for backup PCs.

Give permission when asked — this enables local access.
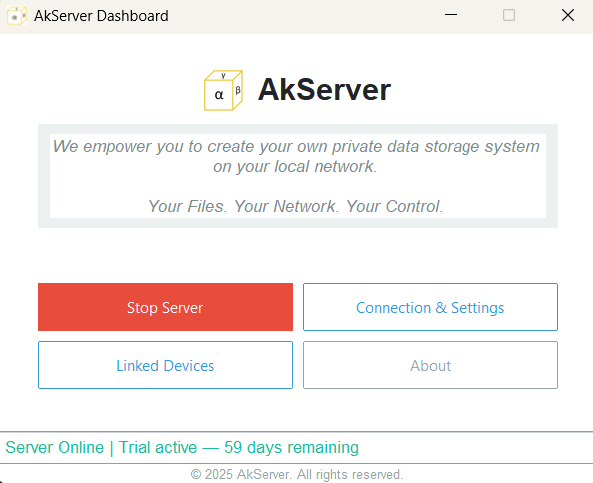
After firewall approval, AkServer window opens — ready for action.
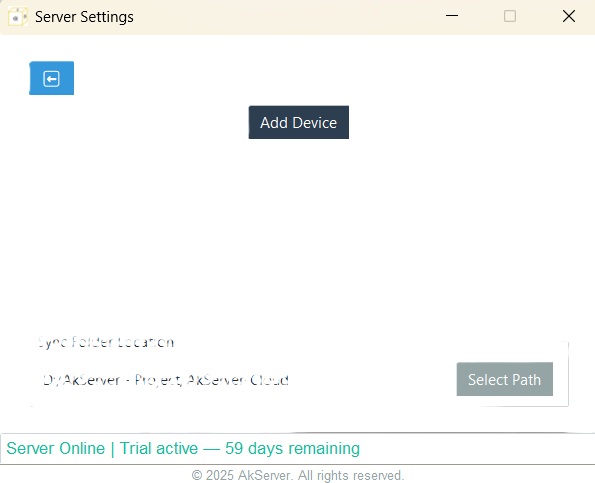
Register your device and choose where uploaded files should be stored.
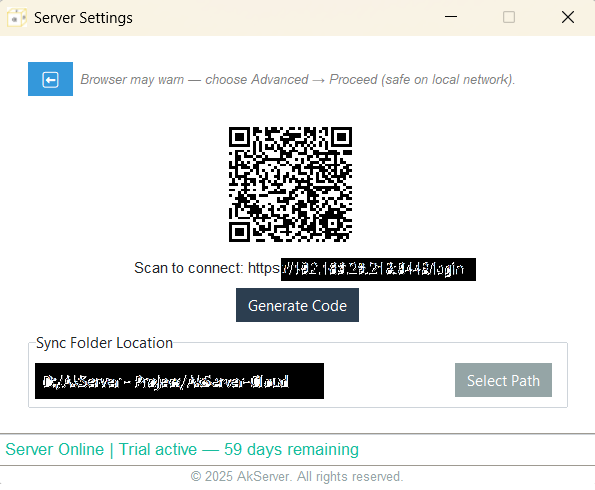
Click “Generate Code” to get a one-time code for secure device registration.
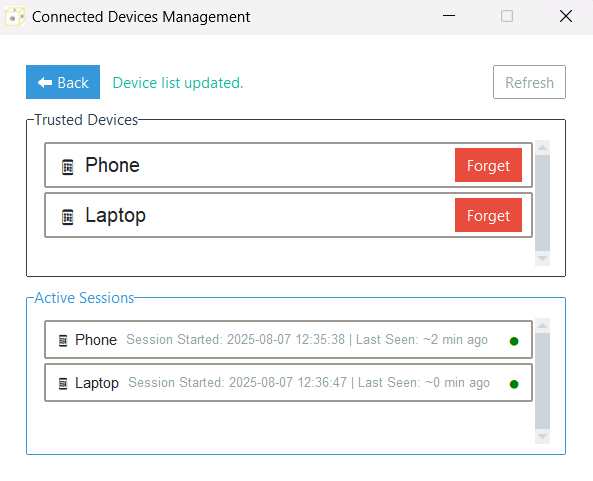
Register and link multiple devices — all visible in one place.
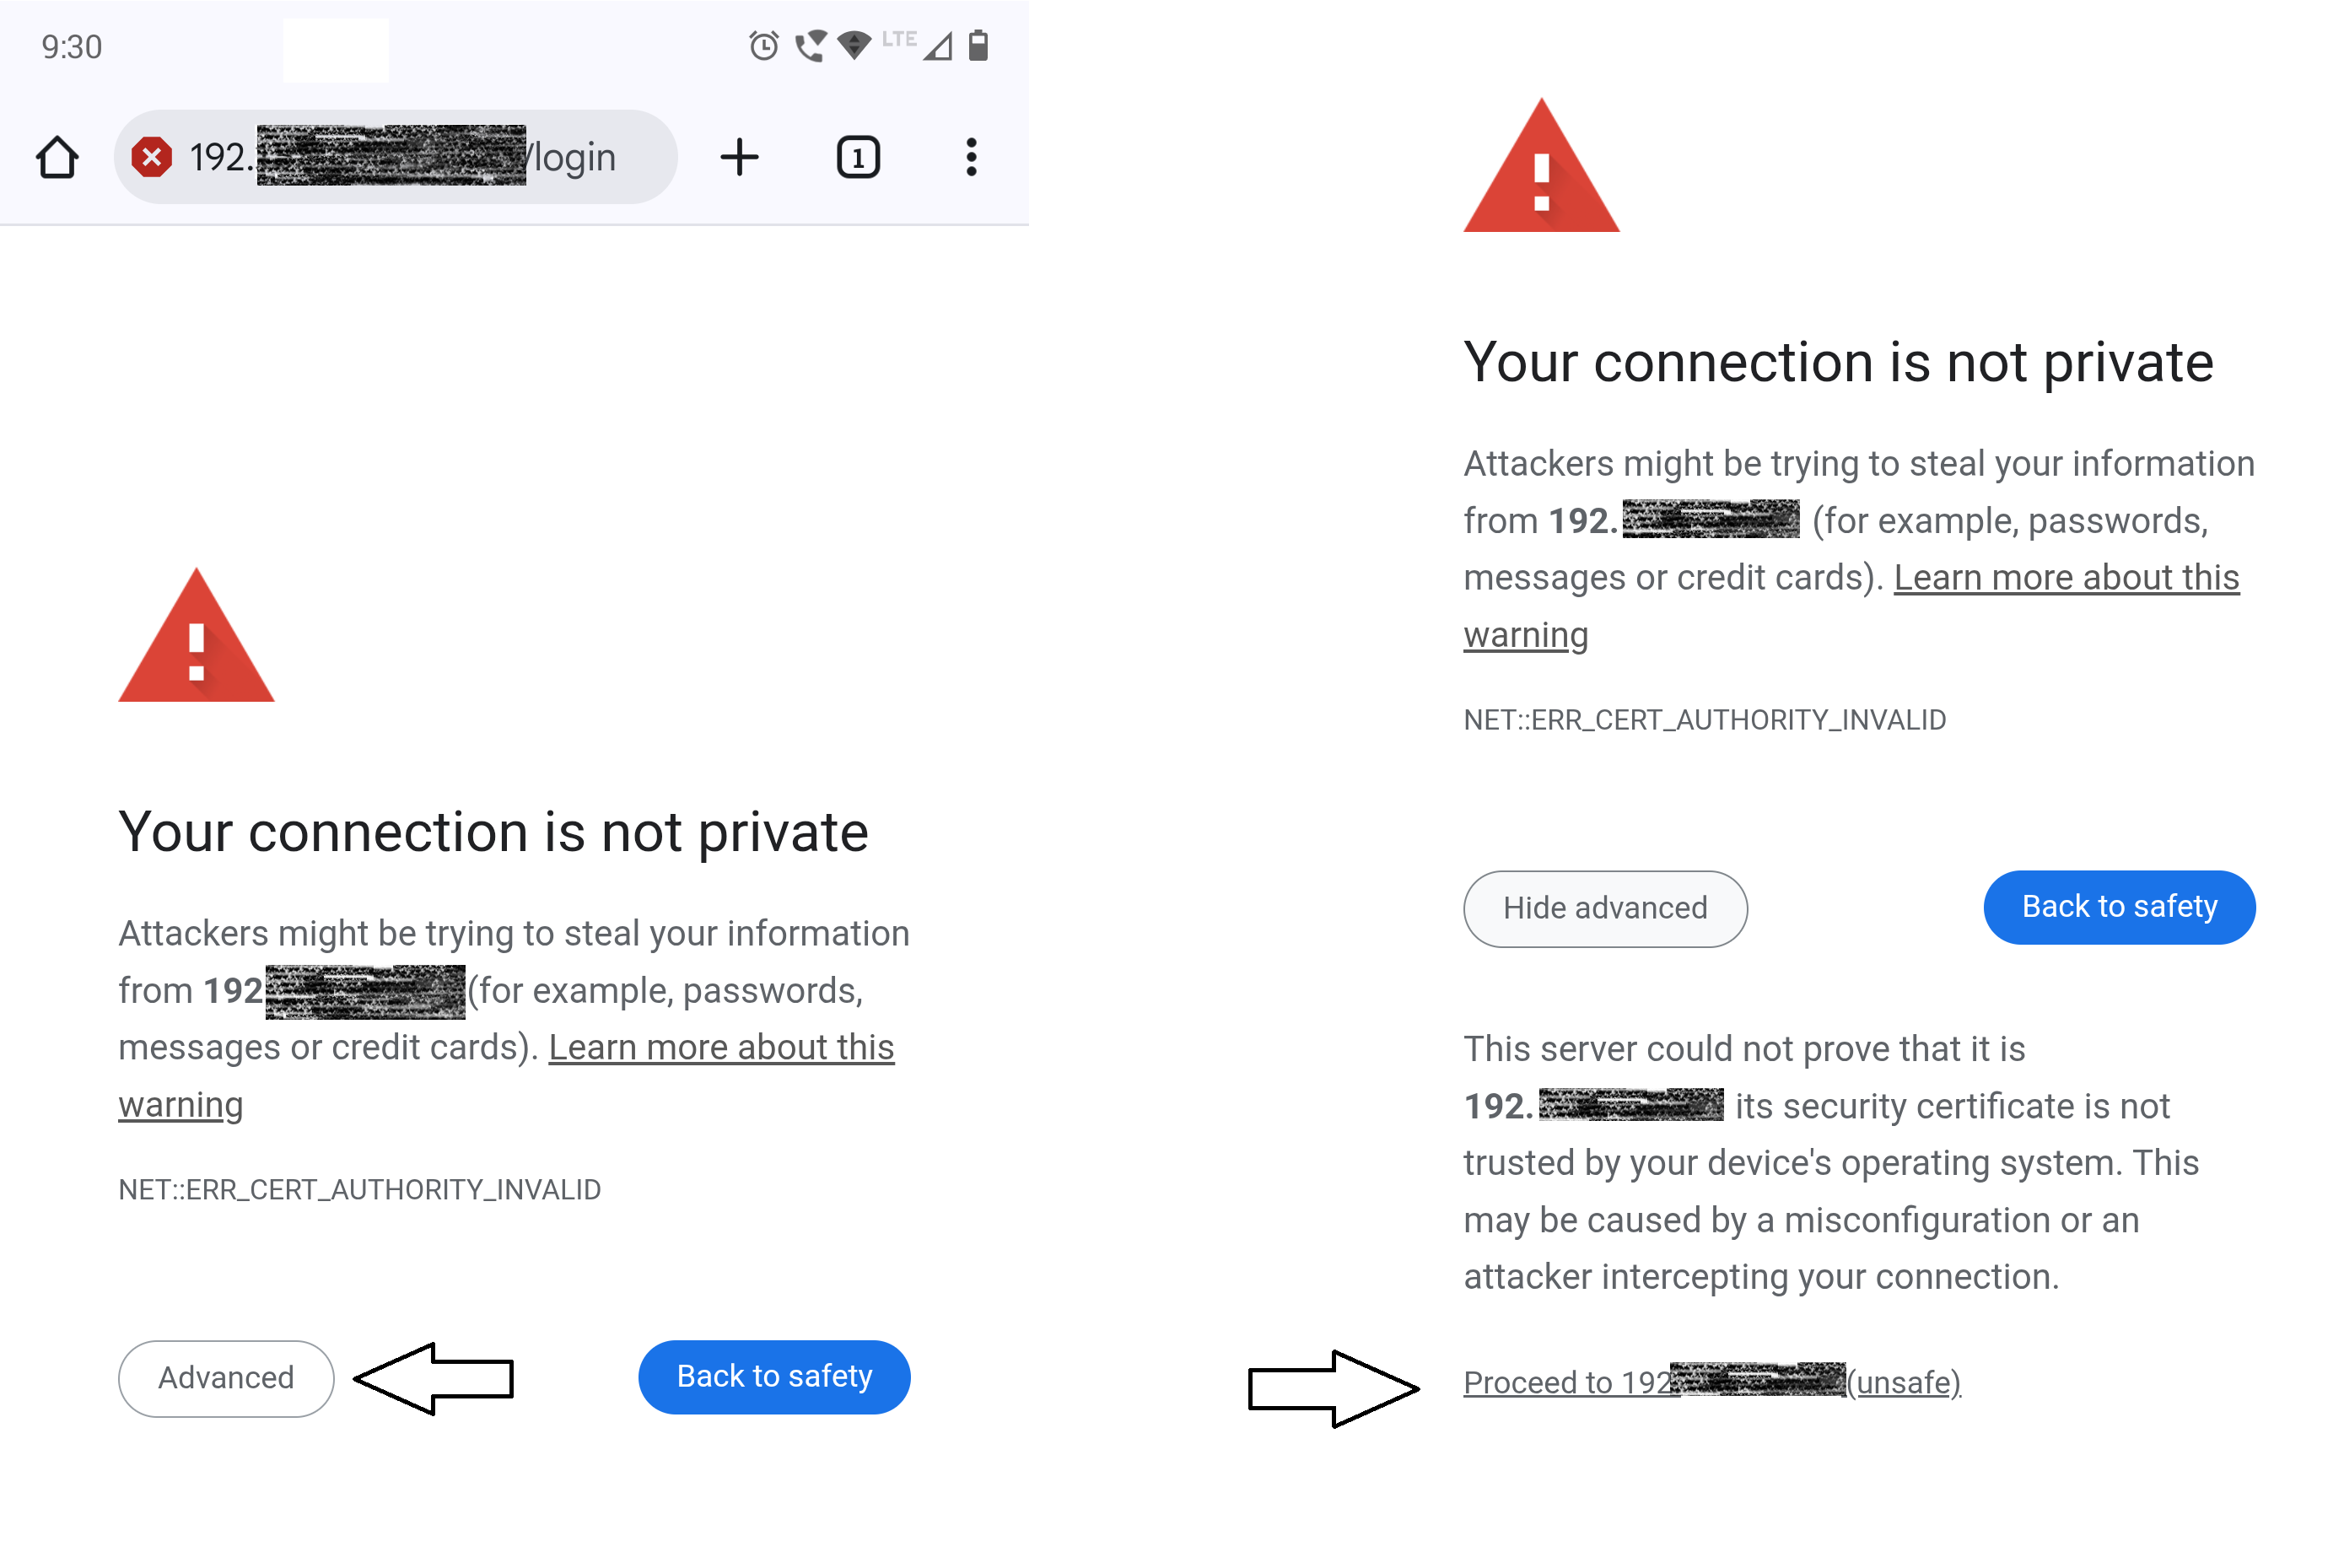
Your browser may display "Your connection is not private" or a similar warning. This happens because AkServer serves a local certificate that can't be validated by public certificate authorities (the service runs entirely on your private network and does not use the public internet). This is expected for local-only servers.
How to proceed: click Advanced → then choose Proceed to <your-AkServer-URL> (unsafe). This is safe when you are on your local, trusted network and confirmed the link is from your AkServer host.
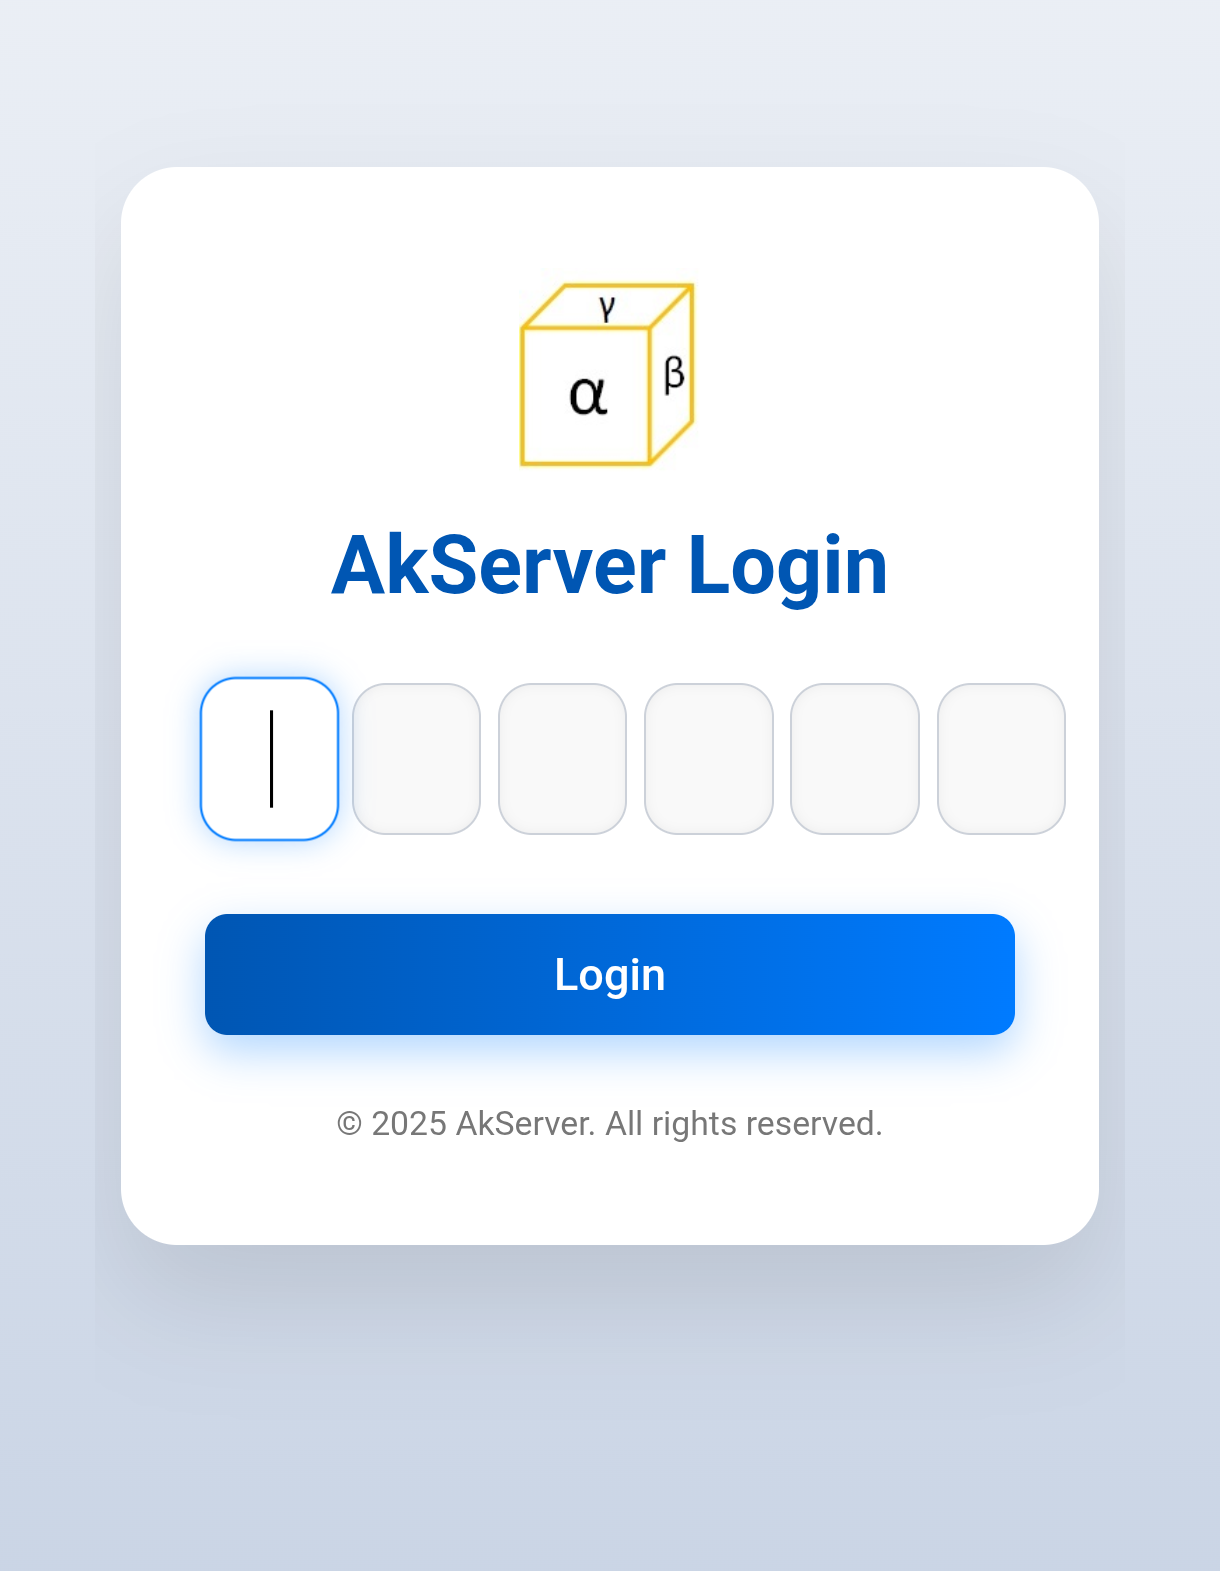
After proceeding past the browser warning you'll reach the AkServer login page. Enter the One-Time Password (OTP) shown on the AkServer host (or generated by the host) and click Login. The OTP rotates for security — use the current code.
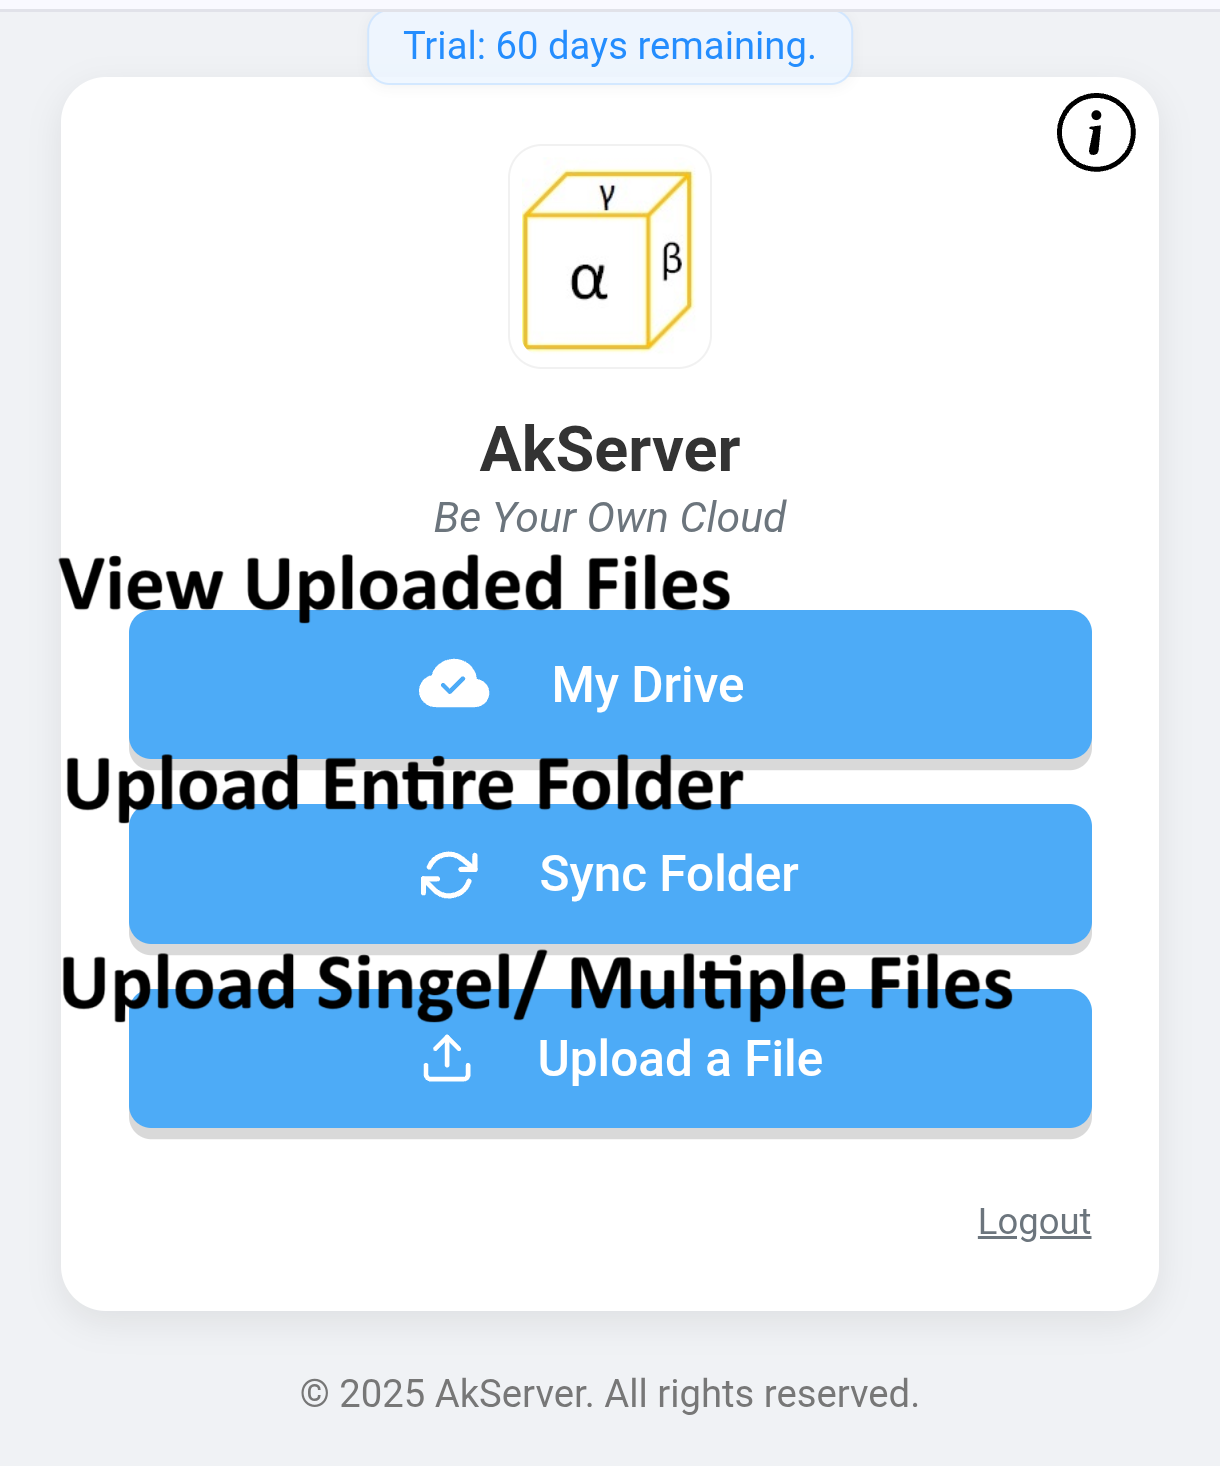
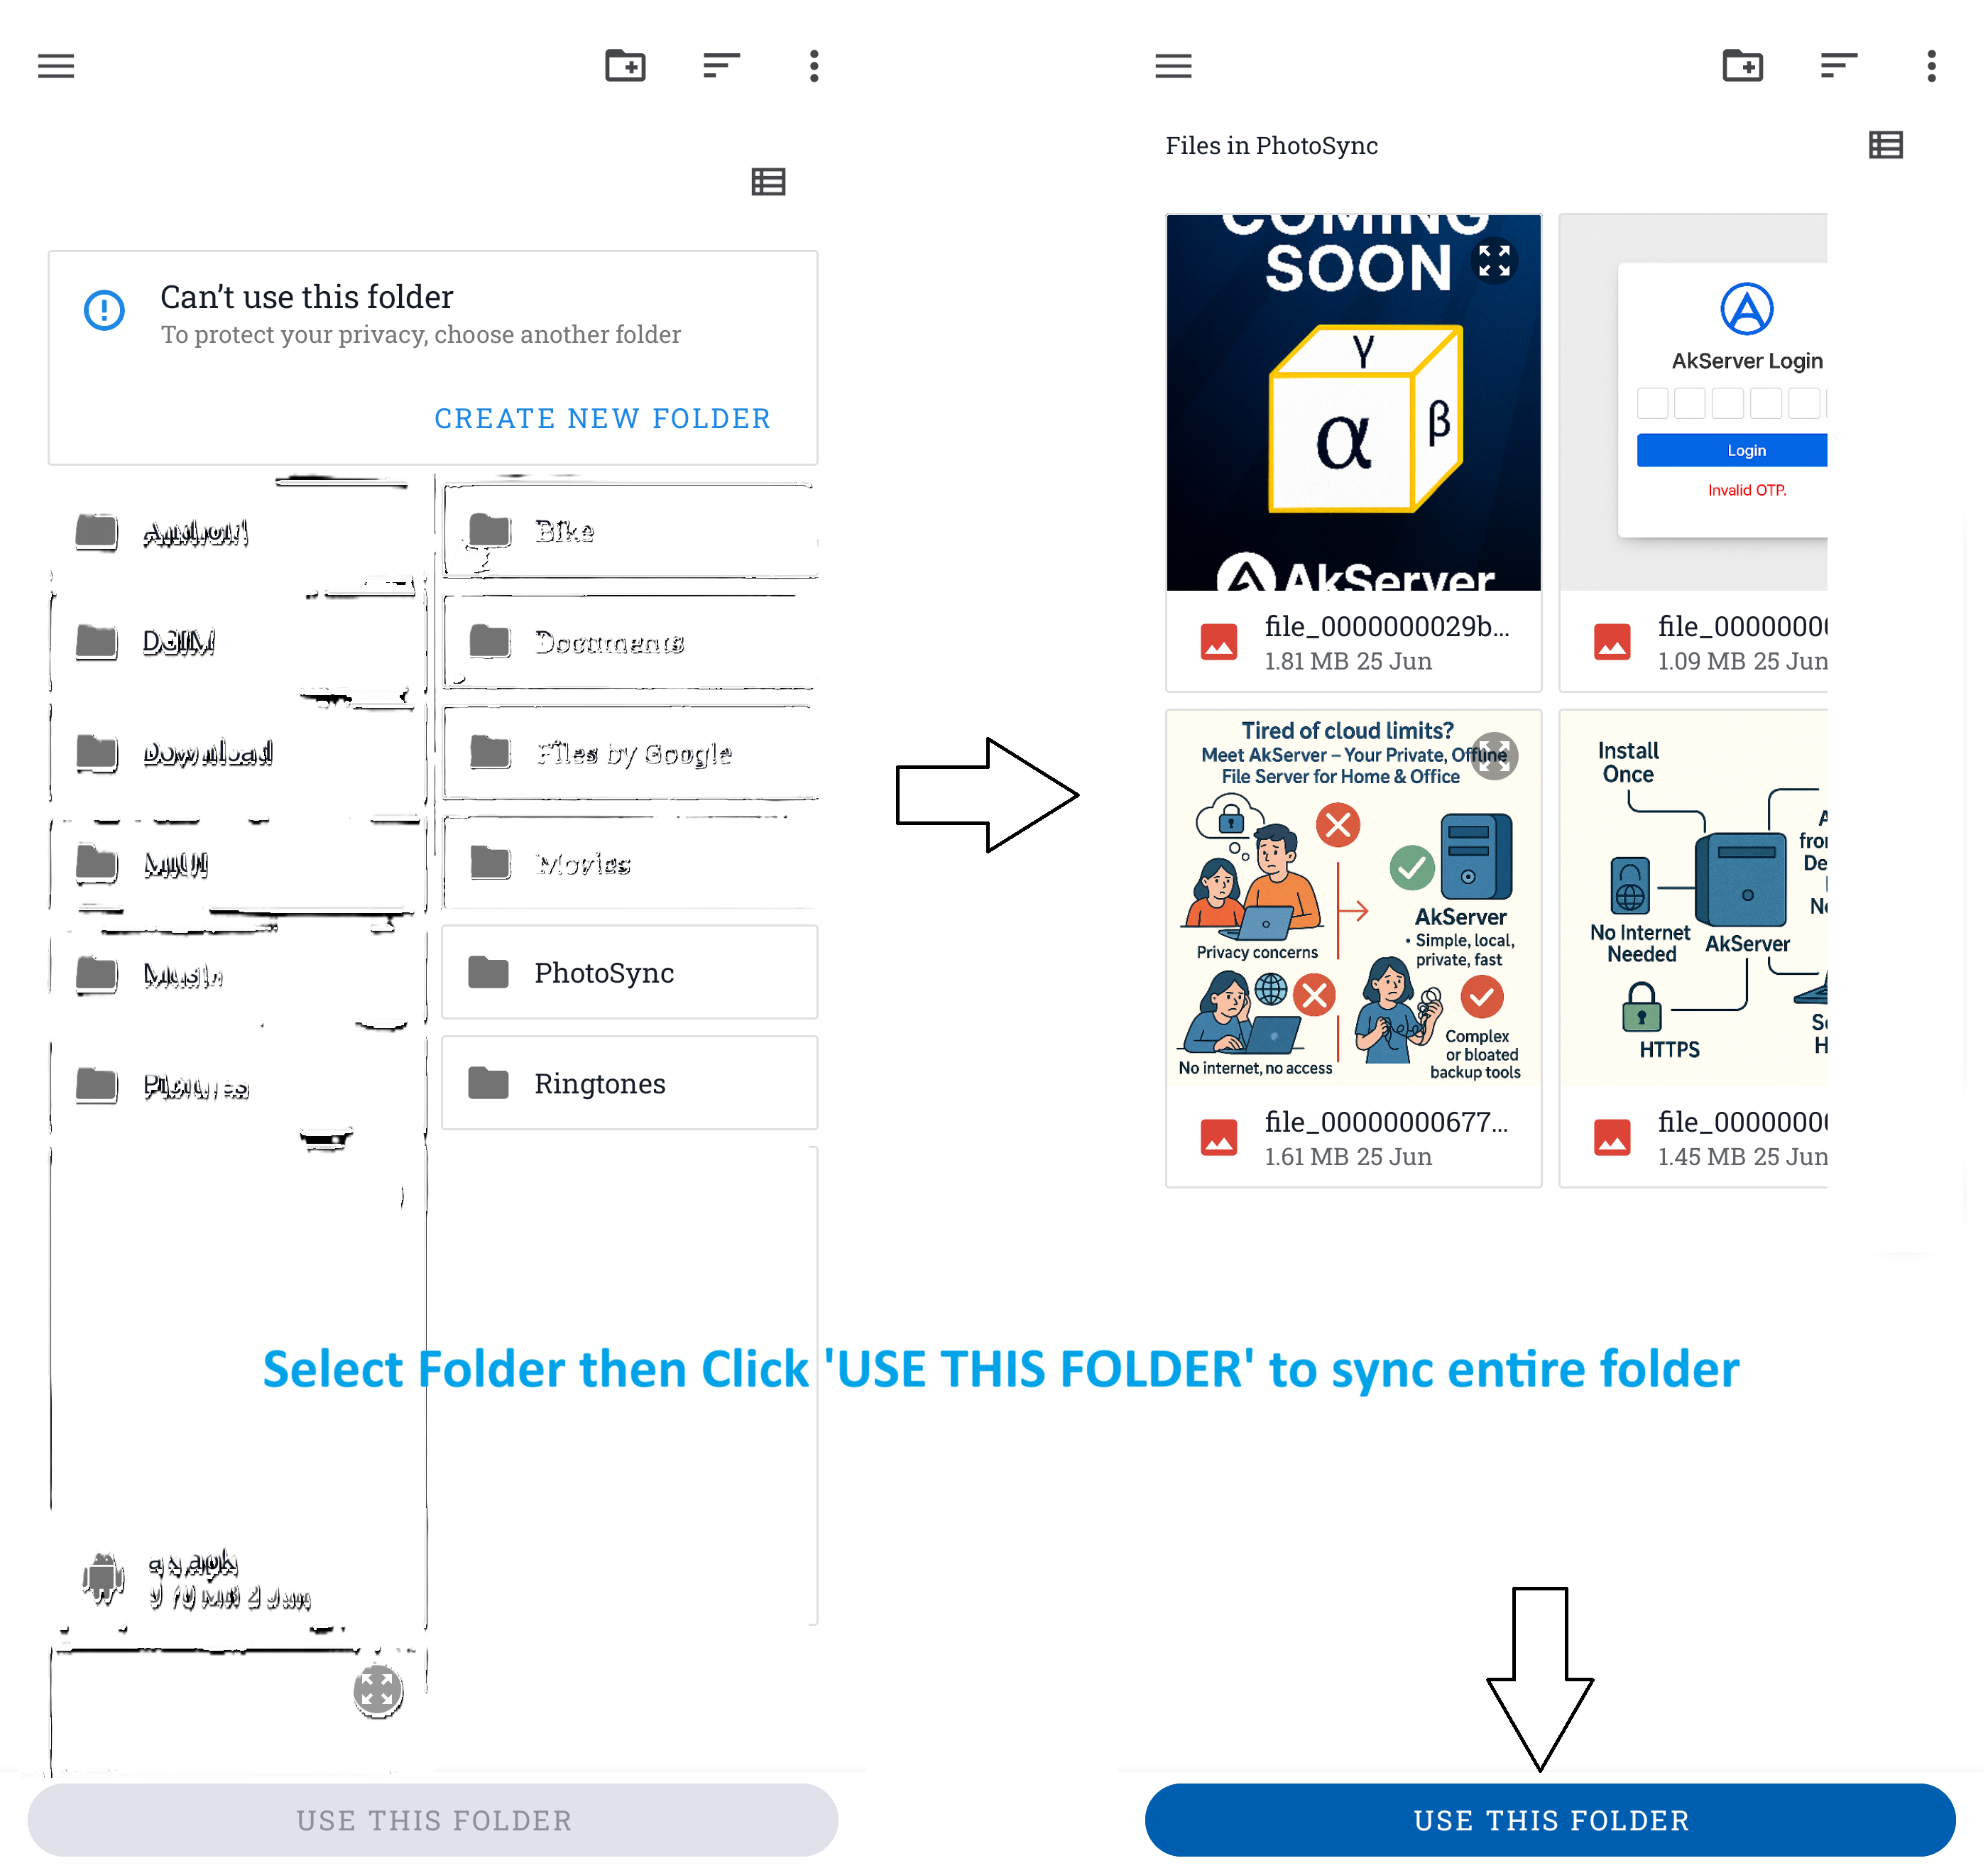
Open the Files tab. Use Upload or Select Folder to choose files from your device. The Web App shows upload progress; files are stored on the AkServer host and become immediately available to other connected devices on the same network.

Switch between Grid, List, or Details view to browse files. Click any file to preview or download it. Use the search bar to locate files quickly. Long-press (mobile) or right-click (desktop) for more file actions (rename, delete, share link if enabled).
If Windows shows SmartScreen, click More info and then Run anyway. SmartScreen flags are common for new or locally distributed apps.
When prompted, allow AkServer through your firewall. If needed, add a rule for the AkServer executable in Windows Defender Firewall > Allow an app or feature and enable private network access.
Ensure all devices are on the same Wi-Fi or hotspot. Disable VPNs or network filters temporarily. Check that AkServer shows "listening" in the main window.
Search for "AkServer" in the Windows search bar. If not found, navigate to C:\Program Files\AkServer and run AkServer.exe manually. Reinstall if the issue persists.
Go to Control Panel > Programs > Uninstall a program and select AkServer. Follow the uninstallation wizard.